
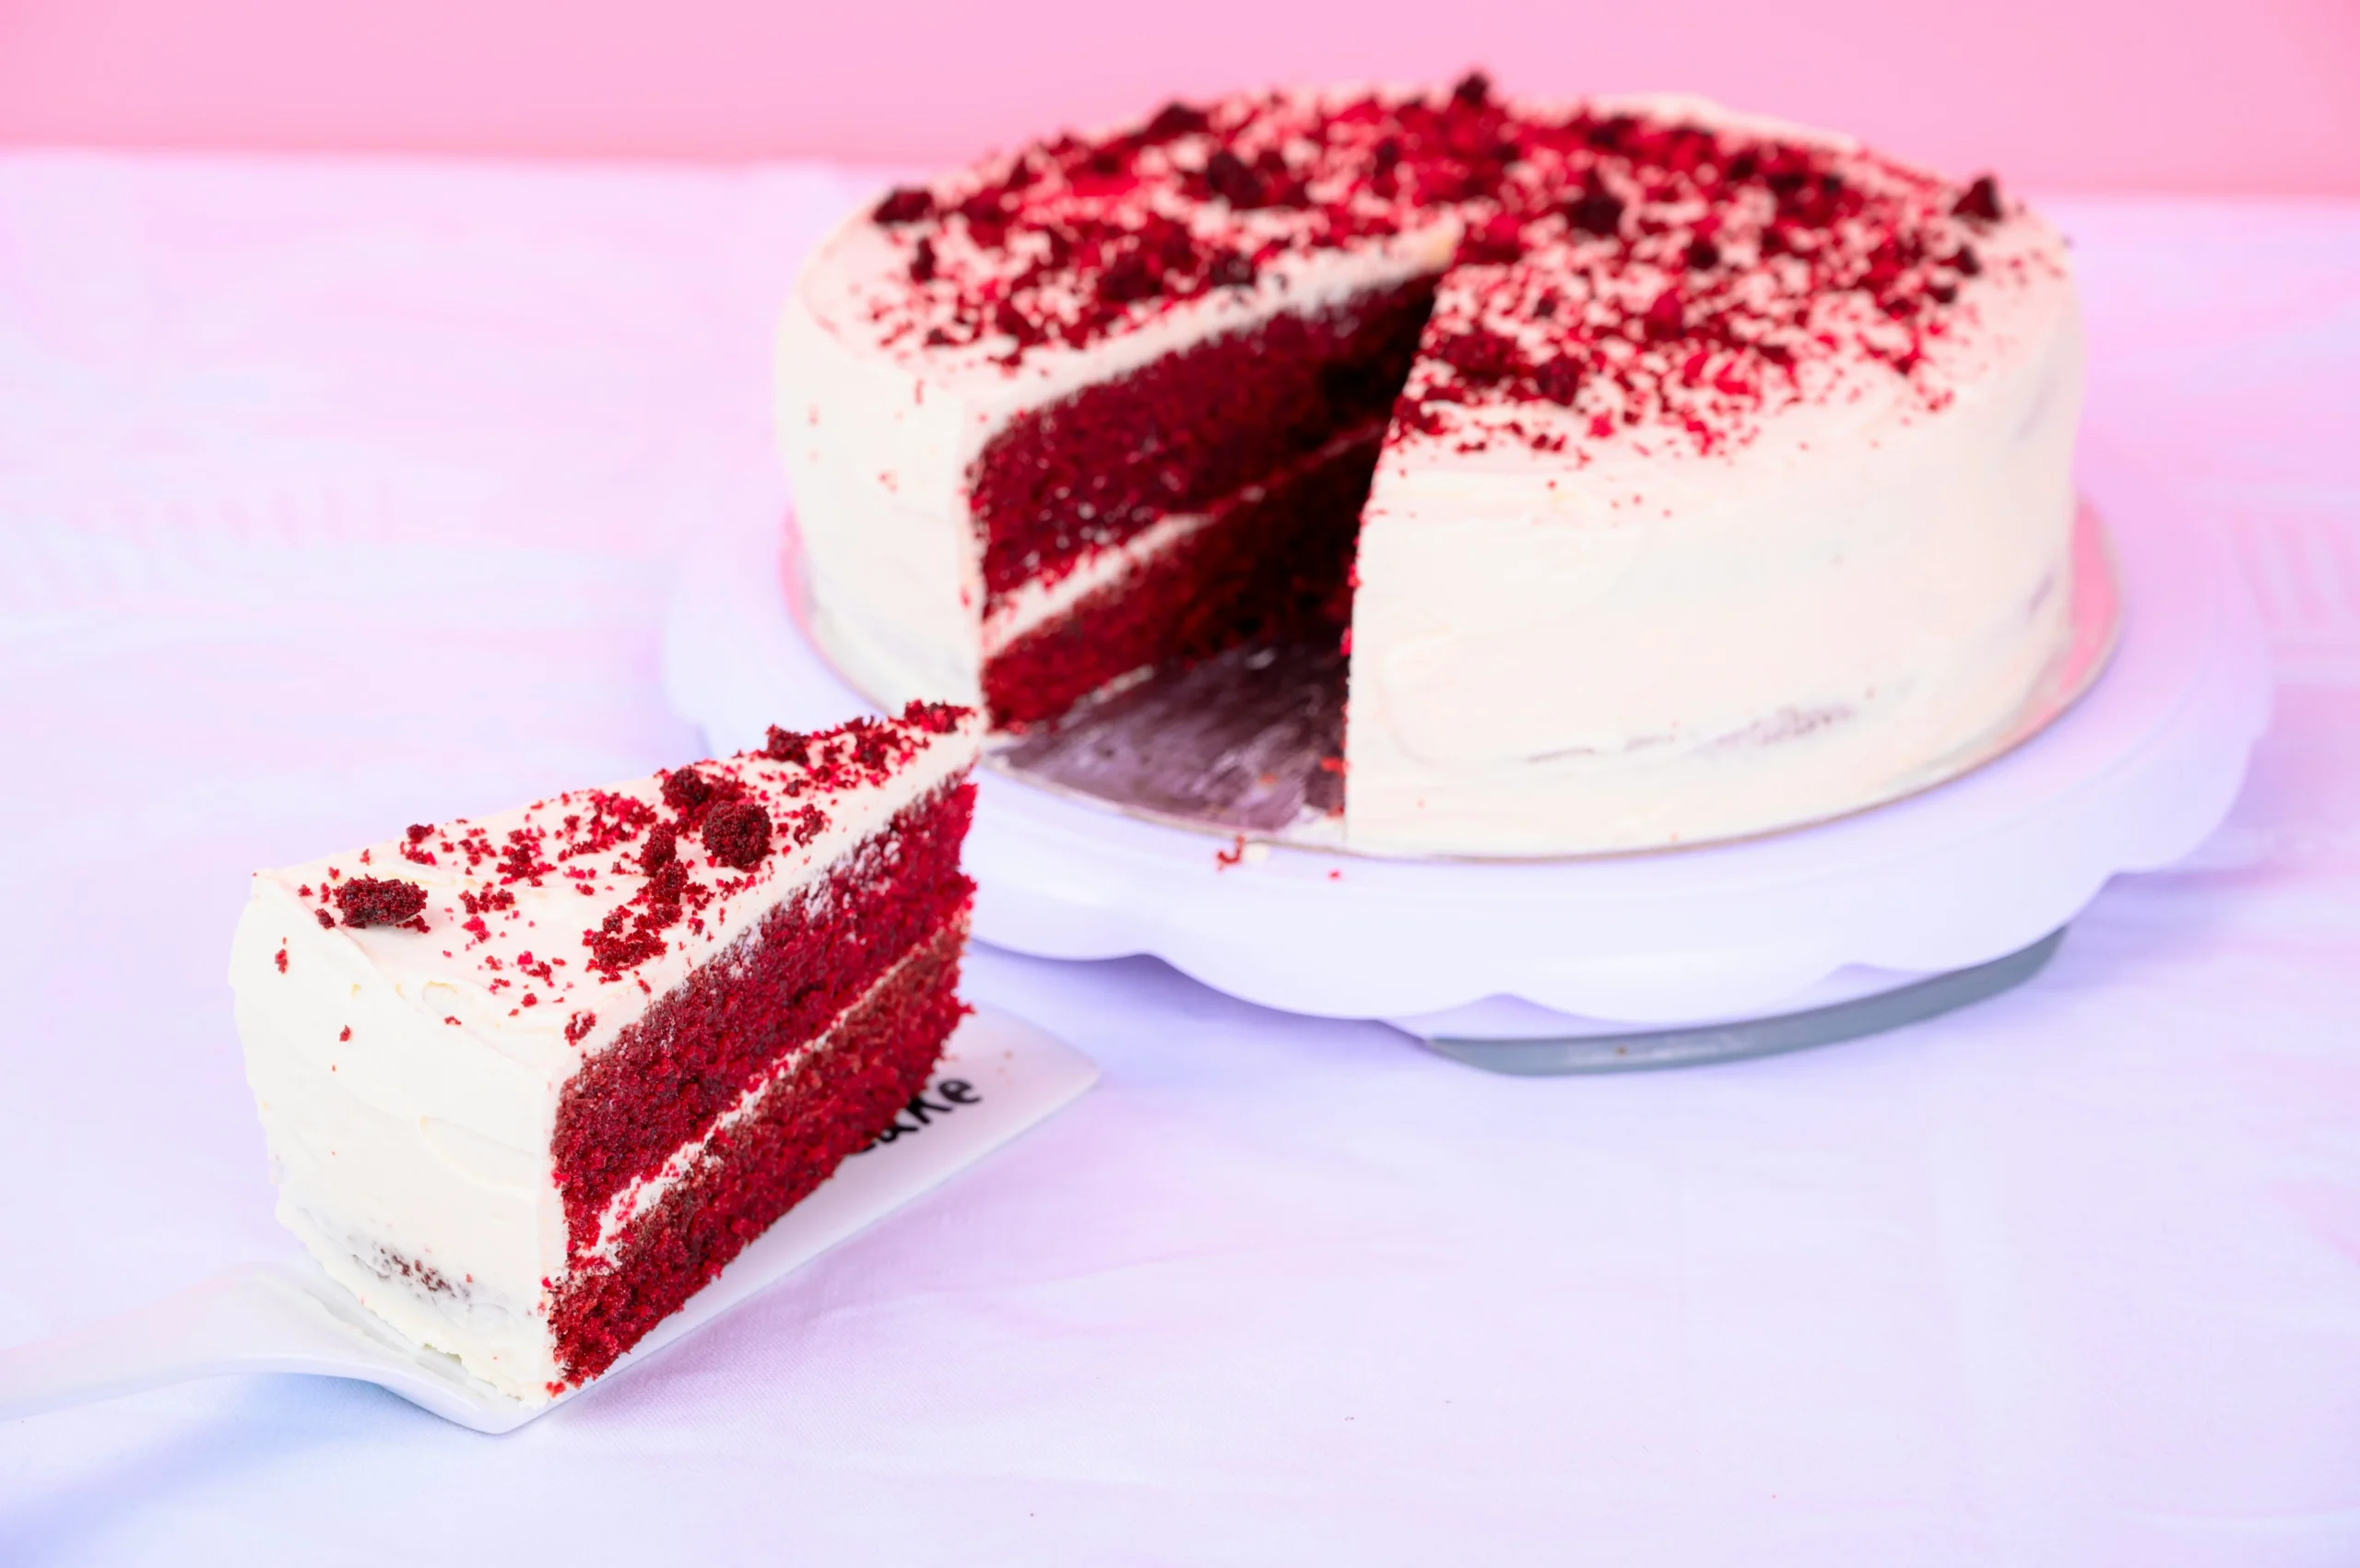
Step-by-Step Guide to Baking the Perfect Red Velvet Cake
Baking the perfect red velvet cake can be tricky. But with a clear guide, you can make a delicious and beautiful dessert.
To make a moist and flavorful red velvet cake, you need to follow a tested recipe. You also need to know the key steps in baking.
By following this guide, you’ll learn how to bake the perfect red velvet cake. It will be both delicious and look amazing.
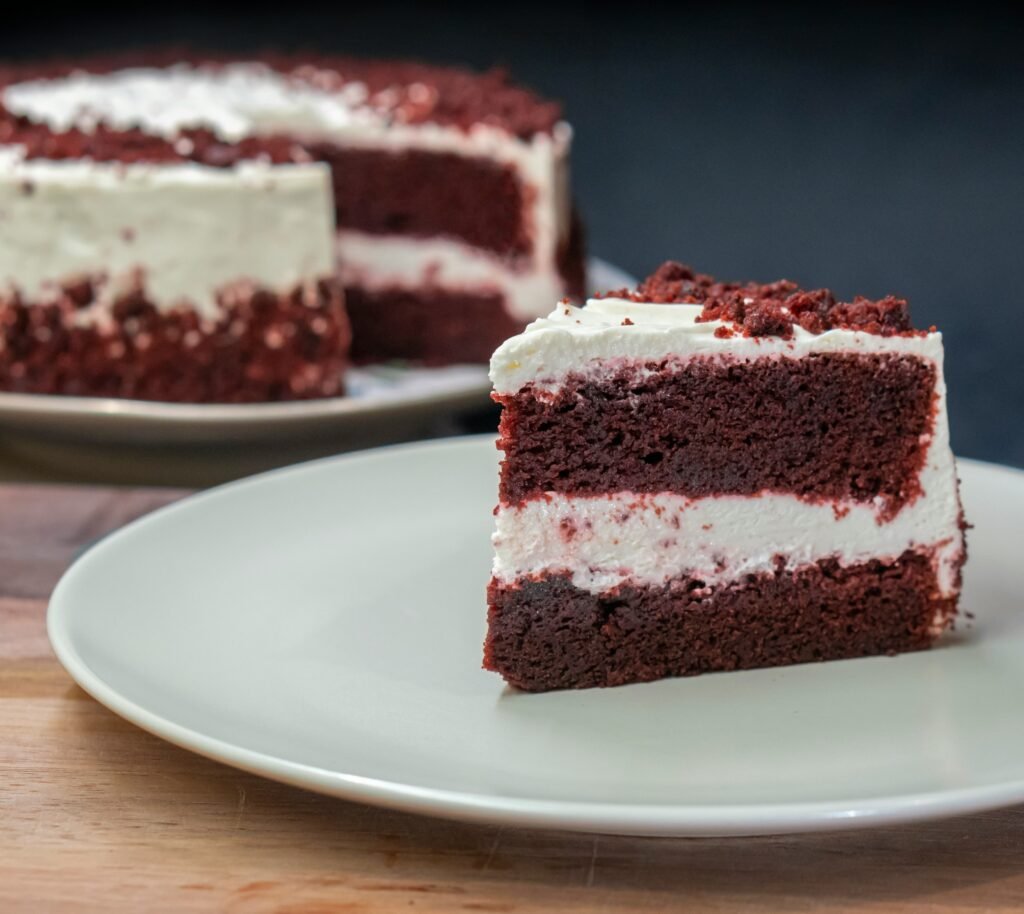
Key Takeaways
- Understand the importance of using the right ingredients for a red velvet cake recipe.
- Learn the step-by-step process of baking a red velvet cake.
- Learn simple tips to get the ideal flavor and texture.
- Find out how to decorate your cake for a stunning finish.
- Explore common mistakes to avoid when baking a red velvet cake.
The History and Allure of Red Velvet Cake
This beloved cake first gained popularity in the early 20th century. It became a classic favorite in the United States in the 1920s.
Origins of the Classic Red Velvet
The Waldorf-Astoria Hotel in New York City is often credited with creating the original red velvet cake. The cake’s distinctive red color comes from a reaction between cocoa powder and buttermilk.
What Makes This Cake So Special
So, what makes red velvet cake stand out? It’s the unique blend of flavors and textures. The cake has a subtle cocoa taste, tangy buttermilk, and a hint of sweetness.
Its moist texture and striking red color make it perfect for special occasions.
| Characteristics | Description |
| Color | Distinctive red hue due to chemical reaction |
| Flavor | Subtle cocoa, tangy buttermilk, and slight sweetness |
| Texture | Moist and fine crumb |
Essential Ingredients for Red Velvet Cake
To bake a perfect red velvet cake, knowing the key ingredients is key. The cake’s taste, texture, and look come from a special mix of ingredients.
The Role of Cocoa Powder
Cocoa powder is key in red velvet cake, adding to its rich taste and color. The type of cocoa powder used greatly affects the cake’s taste.
Natural vs. Dutch-Processed Cocoa
There are two main cocoa powders: natural and Dutch-processed. Natural cocoa has a stronger flavor, while Dutch-processed is milder. Your choice can change the cake’s character.
Understanding Food Coloring Options
Food coloring is vital for the cake’s signature red color. Your choice between natural and artificial coloring affects both look and taste.
Natural vs. Artificial Colorings
Natural colorings, like beet juice, offer a healthier option. Artificial colorings give a bright, consistent color. Your choice depends on what you prefer and dietary needs.
Buttermilk and Vinegar: The Science Behind the Tenderness
Buttermilk and vinegar are key for the cake’s soft crumb. Their acidity works with baking soda to make the cake light and fluffy.
| Ingredient | Function |
| Cocoa Powder | Provides flavor and color |
| Food Coloring | Achieves the signature red color |
| Buttermilk and Vinegar | Contributes to tenderness and texture |
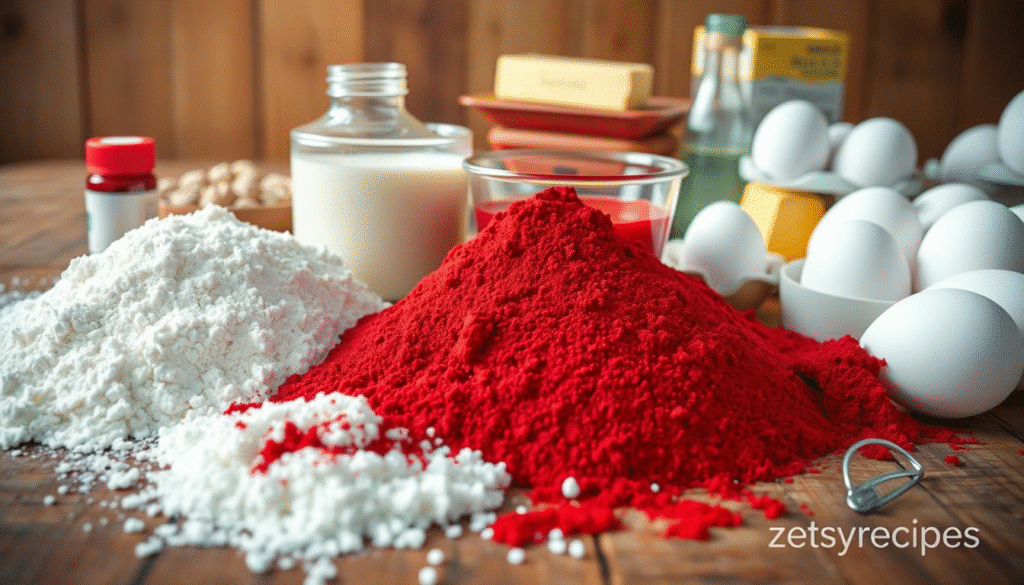
Kitchen Equipment You’ll Need
Before you start mixing your red velvet cake batter, make sure you have the right tools. The right equipment can make a big difference in your cake’s quality.
Baking Pans and Sizes
You’ll need two 9-inch round baking pans for a standard red velvet cake. Choose light-colored pans to avoid over-browning. Non-stick pans are best for easy cake removal.
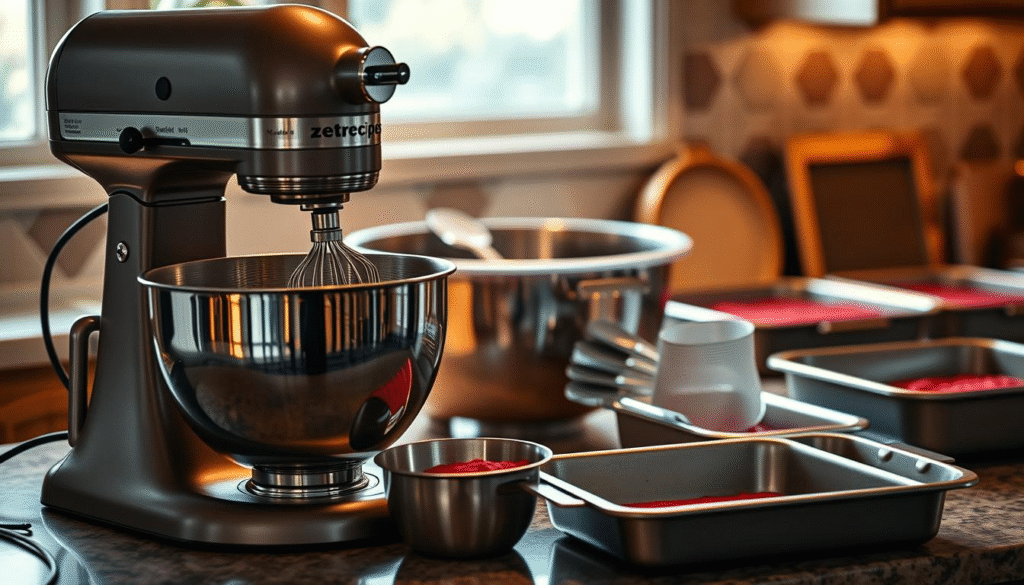
Mixing Equipment
A stand mixer or a large hand mixer is key for creaming butter and sugar. It’s also great for beating eggs and mixing the batter. Use a big mixing bowl to hold all your ingredients.
Other Essential Tools
You’ll also need a digital kitchen scale for accurate measurements. A rubber spatula is handy for scraping the bowl’s sides. Don’t forget an oven thermometer to check your oven’s temperature.
Preparing Your Workspace and Ingredients
A well-prepared workspace and ingredients are key to a perfectly baked red velvet cake. Before you start mixing and baking, make sure you’re set up for success.
Mise en Place: Setting Up for Success
Mise en place is a French phrase that means having “everything in its place.” It’s a vital step in baking. You measure out all your ingredients and have your equipment ready before mixing. This way, you won’t miss any ingredients and can focus on mixing.
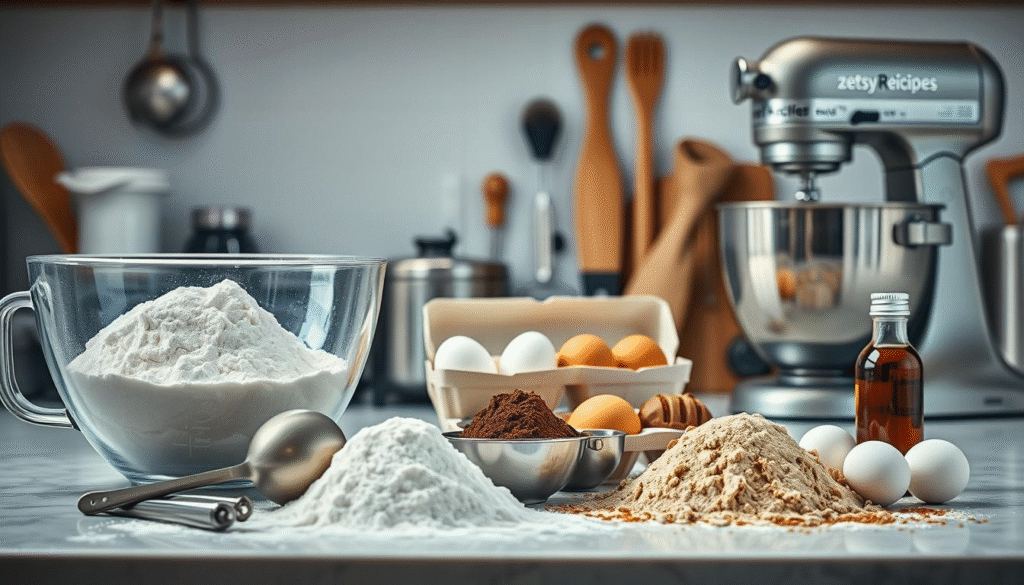
Room Temperature Ingredients: Why It Matters
Using room temperature ingredients is important for the right consistency and texture in your cake. When ingredients are at room temperature, they mix smoothly. This results in a better emulsion.
How to Quickly Bring Ingredients to Room Temperature
To quickly warm your ingredients, leave them on the counter for 30 minutes to an hour before baking. Or, use a water bath to gently warm cold ingredients like eggs and butter.
For cold eggs, place them in a bowl of warm water for a few minutes. For cold butter, microwave it for a few seconds or leave it at room temperature.
Mixing the Perfect Red Velvet Cake Batter
To get the perfect red velvet cake, mastering the mixing technique is key. It involves several important steps. These steps help make your cake moist and delicious.
Creaming Butter and Sugar Properly
Creaming butter and sugar is the first step. It adds air to the butter, making the cake light and tender. Make sure the butter is softened and at room temperature.. Then, beat it with sugar until it’s fluffy.
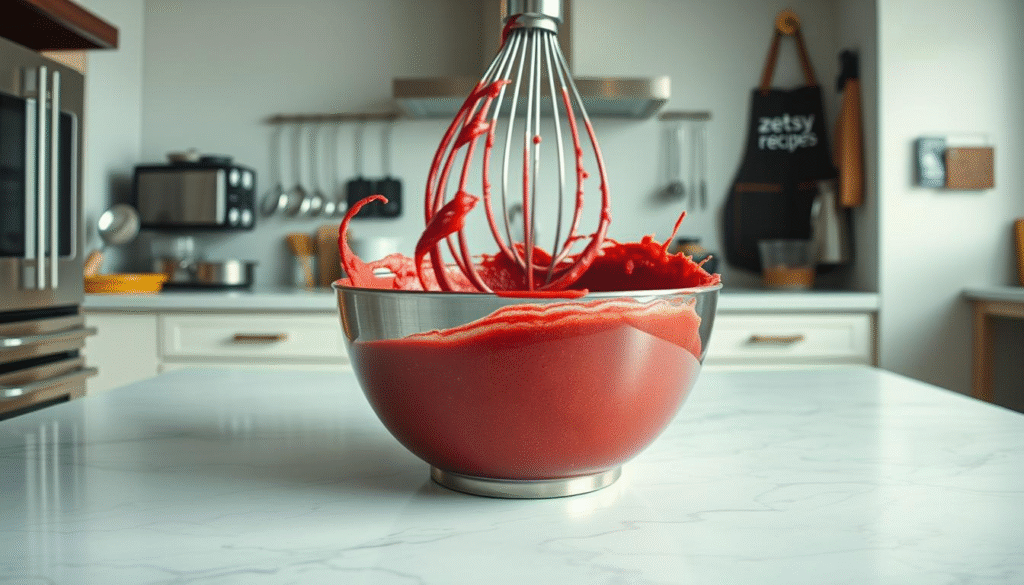
Adding Eggs and Vanilla
After creaming butter and sugar, add eggs and vanilla. Eggs add moisture and structure. Add them one at a time, beating well after each. Use high-quality vanilla for the best flavor.
Incorporating Dry Ingredients
Adding dry ingredients is a careful process. You’ll mix dry ingredients (like flour and cocoa powder) with wet ingredients (like buttermilk). This keeps the batter balanced.
The Alternating Method
The alternating method starts and ends with dry ingredients. For example, add dry ingredients first, then wet ingredients, and finish with dry ingredients. This method helps make the batter smooth.
The Final Mix: Achieving the Right Consistency
The final mix is key for the right consistency. Your batter should be smooth and lump-free. Avoid overmixing to prevent a dense cake.
- Ensure all ingredients are at room temperature.
- Don’t overmix the batter.
- Use quality ingredients for the best flavor.
Baking Your Red Velvet Cake to Perfection
Baking a red velvet cake to perfection needs careful attention and a few key techniques. To get a moist and flavorful cake, focus on oven temperature, knowing when it’s done, and the right cooling methods.
Oven Temperature and Positioning
It’s important to preheat your oven to the right temperature. Make sure it’s set to 350°F (175°C) for baking red velvet cake. Place your cake pans in the oven’s center for even baking. Don’t overcrowd the oven, as it can cause uneven baking.
Determining When Your Cake Is Done
Knowing when your cake is perfectly baked is key. One reliable method is the toothpick test.
The Toothpick Test
Insert a toothpick into the cake’s center. Bake until a toothpick inserted in the middle comes out clean or with minimal crumbs.Be careful not to overbake, as it can make the cake dry.
Cooling Techniques for Optimal Texture
After baking, let the cake cool in the pan for about 10 minutes. Once baked, shift the cake to a wire rack to cool thoroughly. This method helps prevent the cake from getting soggy and keeps its texture perfect. Proper cooling is vital for the perfect red velvet cake.
Creating the Classic Cream Cheese Frosting
The cream cheese frosting is the star of any red velvet cake. It’s tangy and creamy, making the cake special. This frosting contrasts beautifully with the cake’s cocoa flavor.
Ingredients for a Smooth, Tangy Frosting
To make the frosting, you need a few things: softened cream cheese, unsalted butter, vanilla extract, and powdered sugar. Ingredient quality plays a key role in the final flavor. Make sure your cream cheese is soft to avoid lumps.
| Ingredient | Quantity | Purpose |
| Cream Cheese | 8 oz | Provides tanginess and creaminess |
| Unsalted Butter | 1/2 cup | Adds richness and helps in beating |
| Vanilla Extract | 1 tsp | Enhances flavor |
| Powdered Sugar | 2 cups | Sweetens and thickens the frosting |
Beating Techniques for Perfect Consistency
Beating the cream cheese and butter until smooth is key. Use an electric mixer to mix them until they’re even. Then, add powdered sugar slowly while beating. This keeps the frosting smooth and creamy. Don’t overbeat, or it will get too thin.
Flavor Variations for Your Frosting
While the classic frosting is great, you can try new flavors. Add lemon zest or a teaspoon of cinnamon for a twist. These changes let you make the cake your own, perfect for any event or taste.
Assembling and Frosting Your Red Velvet Cake
The moment of truth arrives when you assemble and frost your red velvet cake, turning it into a masterpiece. This final step requires some finesse, but with the right techniques, you’ll achieve a beautifully presented cake.
Leveling and Layering Techniques
To start, you’ll need to level your cake layers to ensure they’re even. Use a cake leveler or a serrated knife to remove any domes or uneven edges. Once your cakes are leveled, you can begin layering them. Place a small dollop of frosting on the bottom layer to secure it to the serving plate or cake stand.
Using a Cake Turntable
A cake turntable can be a valuable tool when assembling and frosting your cake. It allows you to easily rotate the cake, ensuring even frosting and smooth, clean edges. If you don’t have a turntable, you can achieve great results with a bit more effort.
Crumb Coating: The Secret to Clean Frosting
Before applying the final layer of frosting, it’s essential to do a crumb coat. This thin initial layer of frosting traps any loose crumbs, ensuring your final layer is smooth. Allow the crumb coat to set by chilling the cake in the refrigerator for 10–15 minutes.
Final Frosting Application Methods
For the final frosting application, use an offset spatula to spread an even layer of frosting over the crumb coat. Start from the top and work your way down, smoothing out the frosting as you go. For a more polished look, use a turntable to spin the cake while you frost it.
By following these steps, you’ll be able to assemble and frost your red velvet cake like a pro, creating a stunning dessert that’s sure to impress.
Serving and Storing Your Red Velvet Cake
Keeping your red velvet cake fresh is key. Follow these tips to enjoy it at its best.
Best Serving Temperature
Serve your cake at room temperature for the best taste. This lets the flavors mix well and the texture shine. Take it out of the fridge 30 minutes before serving.
Proper Storage Methods
Store your cake in an airtight container to keep it fresh. You can choose between refrigeration or room temperature storage.
Refrigeration vs. Room Temperature
- Refrigeration: Great for up to 5 days. It slows down spoilage.
- Room Temperature: Good for up to 2 days. Keep it in a sealed container.
Freezing Instructions for Future Enjoyment
Freezing is a good option for longer storage. Wrap slices or the whole cake in plastic wrap, then in a freezer bag. Frozen cake lasts up to 3 months. Thaw it in the fridge or at room temperature for a few hours.
Conclusion: Enjoying Your Homemade Red Velvet Masterpiece
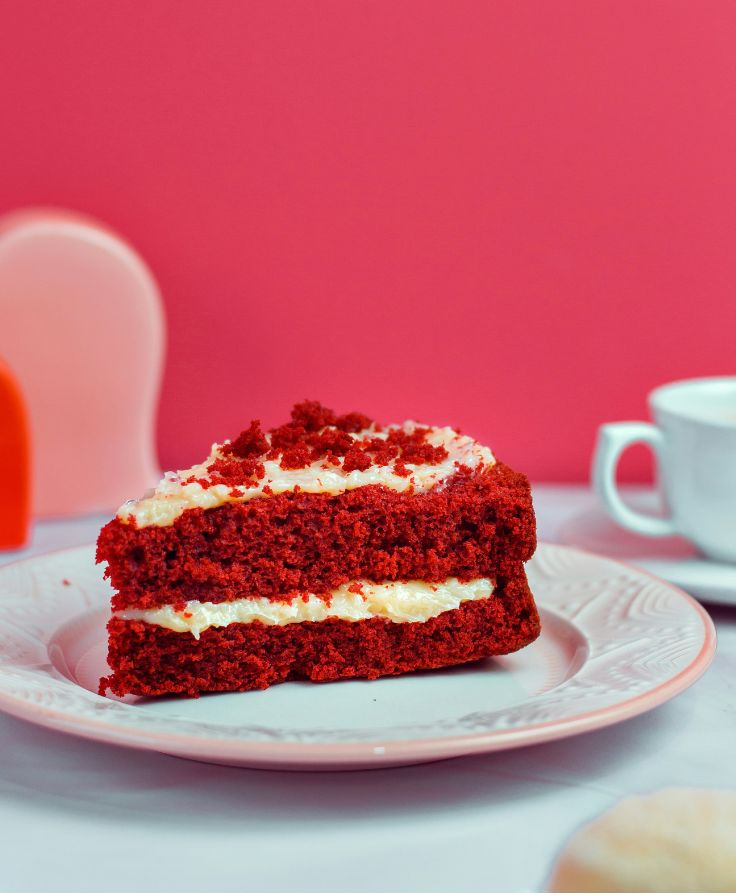
Now that you’ve baked a homemade red velvet cake, it’s time to enjoy it. This cake is a treat with its moist texture and a hint of cocoa. The cream cheese frosting adds a tangy touch.
When you take your first bite, you’ll notice the mix of flavors and textures. Baking this cake was a journey. You learned about using quality ingredients and techniques like creaming and folding.
Share your cake with family and friends. Baking is about creating something special that brings people together. Your hard work will make everyone happy and ask for more.
FAQ
How can I bake a red velvet cake that stays moist?
To make a moist red velvet cake, use buttermilk and don’t overmix the batter. Make sure your ingredients are at room temperature too.
How do you make a red velvet cake without using food coloring?
Yes, you can make a red velvet cake without food coloring. But, the cake won’t have its usual color or taste.
Which cocoa powder works best in red velvet cake?
Use natural cocoa powder for red velvet cake. It gives a tangy flavor that makes the cake better.
How do I achieve the perfect cream cheese frosting?
For perfect cream cheese frosting, soften the cream cheese first. Beat it until smooth. Then, mix in butter and vanilla until combined well.
Can I use a red velvet cake mix instead of making it from scratch?
Using a cake mix saves time. But, making it from scratch lets you control the ingredients. Scratch-made cakes taste richer and feel better.
How do I store leftover red velvet cake?
Store leftover cake in an airtight container at room temperature for three days. Or, refrigerate it for five days. Freeze it for longer storage, wrapped well.
What are some creative ways to decorate a red velvet cake?
Decorate your cake with cream cheese frosting for a rustic or smooth look. Add fresh flowers or a border with nuts or sprinkles.
Can I make red velvet cupcakes instead of a cake?
Yes, you can make cupcakes from a cake recipe. Just divide the batter into cupcake liners and bake for less time.